Before you start
This needs Private Lessons switched on. An admin turns it on in Settings, under Features.
Step 1: Create an appointment type
In the admin menu: Catalogue, then Passes & Packages
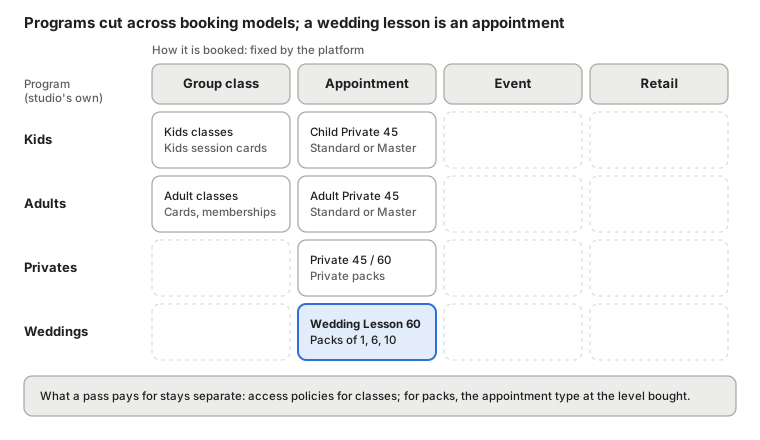
Open "Appointments" and click "New appointment type". Give it a "Name" and a "Length (min)". "People per lesson" is for display only: one lesson is one booking, however many people come.
Under "Who teaches it", tick every instructor who teaches this type, then click "Create type". A lesson length is fixed once students hold sessions of it: a different length is a new appointment type.
Step 2: Add a pack with its price
In the admin menu: Catalogue, then Passes & Packages
On the type, click "Add pack". Fill in "Pack name" and "Sessions", the price of the whole pack, and "Never expires" or "Expires after" a number of days. "Sell online" lets students buy it on your Prices page.
Click a pack to change it. "Stop selling" hides it from new sales; students keep the sessions they already bought.
Step 3: Charge more for some instructors
In the admin menu: Catalogue, then Passes & Packages
A price level is a price tier, such as Standard and Master. Click "Add a price level", give it a name and a description your students will read, and click "Add level". The level you already had is the default.
Each pack now takes one price per level; leave a level empty to not sell the pack there. Click "Edit type" and choose each instructor's level beside their name. A level nobody teaches is not for sale, and the price table marks it.
Step 4: Rename, reorder or remove a level
In the admin menu: Catalogue, then Passes & Packages
Click "Price levels" to rename a level, change its description or move it up or down; your Prices page lists levels in this order.
"Delete" asks first when the level only has prices and instructors, and removes them with it. A level students have bought sessions at cannot be deleted: rename it instead.
Step 5: What students see
Your Prices page lists each appointment type with its length, then each level with its description, its instructors and its packs. With only one level, no level is named anywhere.